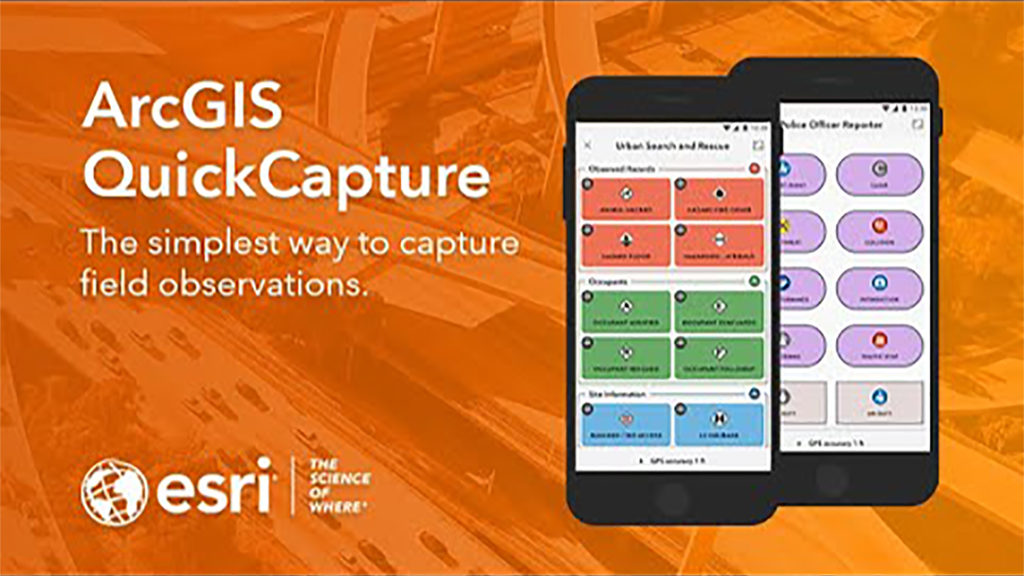
 The field data collection app ArcGIS QuickCapture was designed to support field teams that need to rapidly collect data from a moving vehicle, helicopter, bicycle, or all-terrain vehicle (ATV). It has a simple, form-based interface and is an excellent choice for collecting almost any type of data. You can capture both the location and attributes of assets or incidents as you travel.
You create the form, determining the arrangement, appearance, and color of buttons and the information collected. That information can include photos and sensor information from a device.
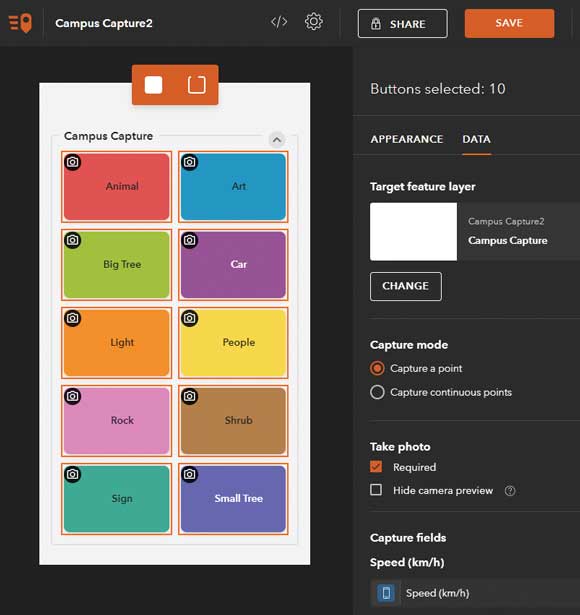
This exercise introduces you to QuickCapture. You will create a simple QuickCapture form that will let students capture photographs and locations of the things they might see around a school campus. You will create and configure a feature layer, make a QuickCapture project and form, collect data, and view collected data. The applications’ look can be modified and its functionality can be tweaked with ArcGIS QuickCapture designer.
Create a Feature Layer
QuickCapture data is captured and saved to a feature layer. Feature layers can be created in many ways—from a template, from an existing layer, from a URL pointing to an existing service, or from scratch. For this simple example, you can use ArcGIS Online to create a feature layer from scratch provided you have privileges that allow you to create hosted feature layers.
 Begin by signing in to your ArcGIS Online organizational account. In the Content tab, click Create, then choose Feature Layer.
- In the From Template tab, choose Build a layer, then select Points. Click Create.
- Click Point layer to change the name of the feature layer to Campus Capture. Click Next when finished.
- Set the extent to where you want to collect your data using the map and then click Next. Add Campus Capture as the title and tags and a summary for this new hosted feature layer item.
- Click Done when finished.
It’s a best practice to complete the item details page for the hosted feature layer you just created, so do that and add a well-crafted thumbnail and a detailed description and set Delete Protection in the Settings tab.
Configure the Feature Layer
Next, configure the attribute fields to capture the information you desire. In this example, you will make a list of values to capture. Open the Data tab for the feature layer item and click Fields and then click Ad. For Field Name and Display Name, type “Capture”. Make the type String, shorten the length to 25 characters, and uncheck Allow Null Values. Click Add New Field.
This article is reposted with permission from Esri
Continue Reading how to use Quick Capture here: Quick Capture for Beginners